I was happy with this upgrade to the music sources and low-frequency sound.
I still felt the car needed something. And I had been trying to
come up with a way to add rear speakers without cutting into the
interior or bolting something on where they might not help much with the
soundstage and overall quality of sound.
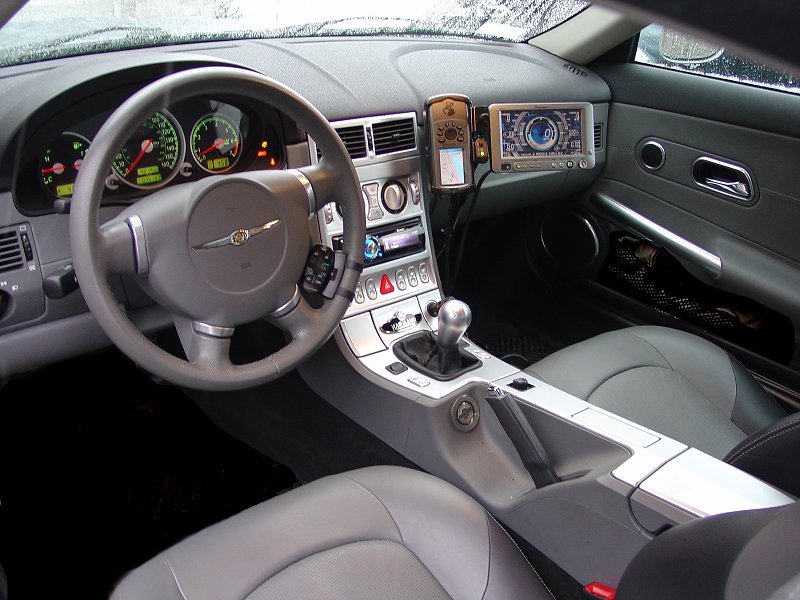
The car comes wired for sound in the
doors (tweeter and mid-range in each door) and subwoofers behind the
passenger and driver. Interestingly, these speakers are all driven
as "front" speakers. Consequently there is no "front" or "rear"
control over the relationship of these speakers. Indeed, the
door midrange speakers didn't even have a crossover circuit in them so
they took a full range of sound frequencies and sounded quite boomy.
Adding a crossover corrected this and allowed the factory subwoofers to
take on the job they were intended to perform. But still there was
no control over the relationship between the door speakers and the
subwoofers.
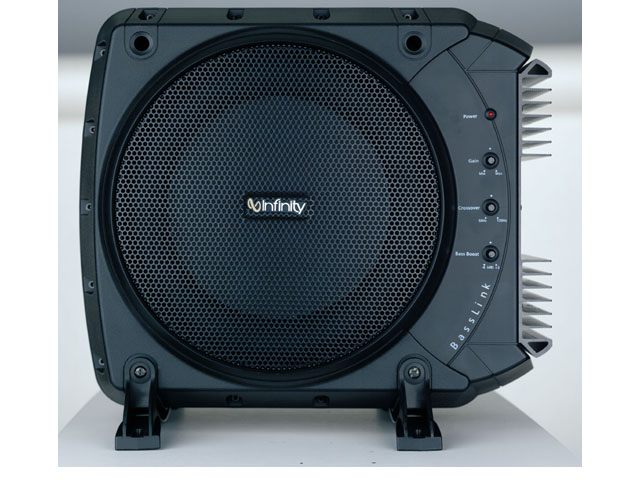
Adding the
Infinity Basslink corrected that by
providing an amplified subwoofer with separate control. That
really beefed up the sound and gave some control over how much bass was
being delivered. But it still didn't fill in the missing "rear"
speaker problem.
Coming back to the custom roll bar
installation, it occurred to me I could use the roll bar brackets to
hold two very small two-way speakers. Because they would not be
embedded into the interior they would require enclosures. At first
I considered using Surround Sound satellite speakers because they're so
small and have their own enclosures.
I believed I had answered two questions for myself:
- what should I do with the black bars that came
with my roadster roll bars (now installed in my coupe)?
- where might I put a set of "rear" speakers?
I was looking at the bars after I installed them and
it came to me - there are a few speakers on the market that have a
triangular cabinet that would fit into the black bars if they're put on
the roll bars backwards. And if I could find a speaker enclosure that
fits in the space, it would be a great way to get better imaging from my
stereo and use those rear speaker leads that came with my aftermarket
head unit without making any holes in the interior panels.
Discarded Options
So I did some long hard searching to see what I could
find. And I found two interesting possibilities:
- Infinity TSS-SAT450 or TSS SAT750
- Klipsch Quintet III
That's right - satellite speakers for surround
systems... Here's my reasoning - I want:
- fully enclosed to mount in the roll bar space
- high quality but small enclosures
- at least two-way speakers
The primary reason for these speakers is to help with
soundstage imaging. That's what they're made for in surround sound
systems.
So either of these would probably work fine. I
listened to the Klipsch at Best Buy and they're great - nice and clean
and good quality sound even at low sound levels. I can't find the
Infinity speakers locally but expect they're probably much like their
small 4x6 mounted speakers I have already.
Anyway, I tried to source the Klipsch speakers
separately and then have a go at installing and reviewing them.
But after some research, I decided
to ditch the idea of using the Klipsch speakers. They're not typically
sold separately and all the ones coming up on eBay have "issues". Also
the impedance (8-ohm) reset my expectations - with a clean but
admittedly low-powered head unit (22W per channel/50W Peak) and a fairly
long wire run, I probably would not be happy with the sound. The
speakers would require a lot more power to sound their best.
Design an Enclosure
I traced the roll bar bracket onto a piece of
paper and designed the cabinet around it, working to make it as small as
possible and still large enough to hold the speaker. Here's the
drawing I came up with, to scale with the speaker unit shown inside the
opening.
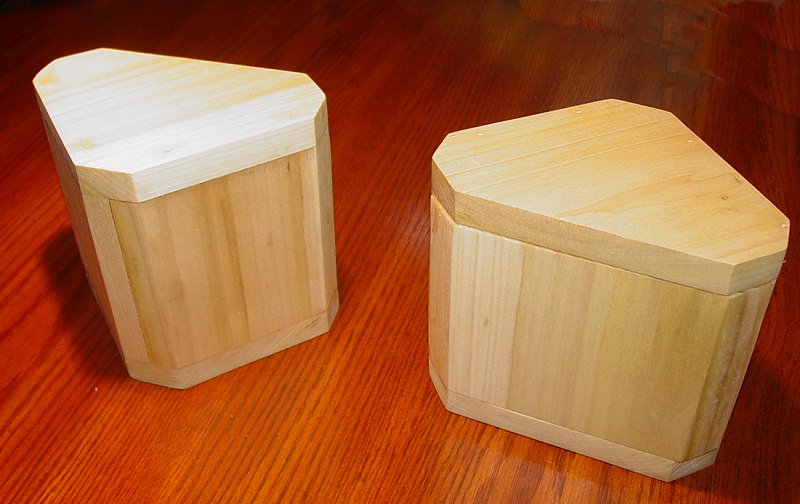
I tinker a little with woodworking so I
dusted off the table saw, bought a few boards and cut out the parts need
for my plan. Then I nailed and glued the pieces together and did a
little creative cutting to get the final shape. The enclosures came out great.
Mounted with the flat side facing to the rear and the angled side bolted
to the bracket facing toward the windshield. This puts the two
surfaces on a 45-degree angle toward the sides of the car.


So I moved to considering a couple
different Infinity speaker solutions. I liked their Reference series 4x6
plate speaker but found that the way I was installing them, they'd be
about 1/2" from the back of the seat and really would not disperse
enough sound to make it worthwhile.
The cabinets are drying - the sanding
sealer takes a while to harden. I contemplated finishes and decided to
match the color and texture of the rest of the interior so the speakers
will "blend"...
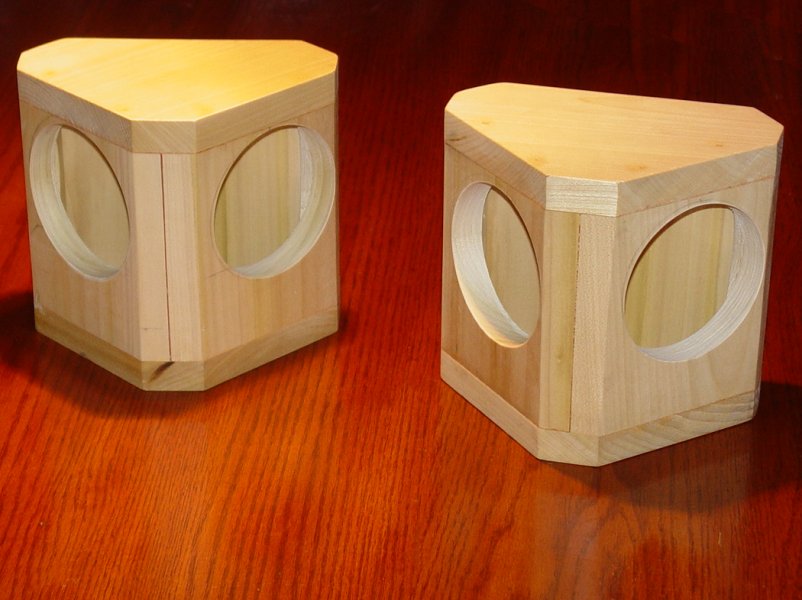
Here's the
enclosures with the holes drilled for the drivers. All of
the openings and mounting holes for the speaker bolts, mounting
stud to the roll bar bracket, screw holes for the backs and hole
for the wiring were made while the enclosures were still in bare
wood. This reduced the amount of handling the finished
pieces would need to endure, and allow for an easier job of
drilling and so forth.
Enclosure Design Considerations
I calculated the enclosure size for the speakers and found the optimum size was almost exactly what I built:
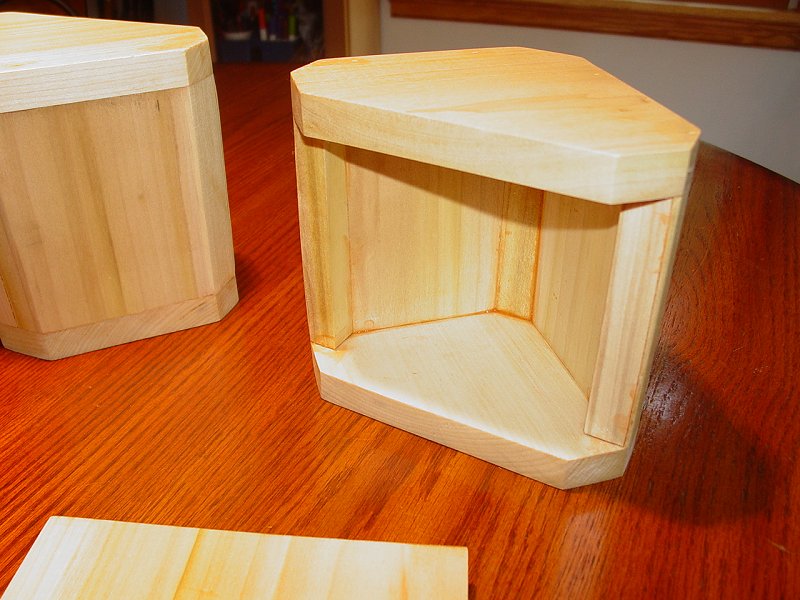
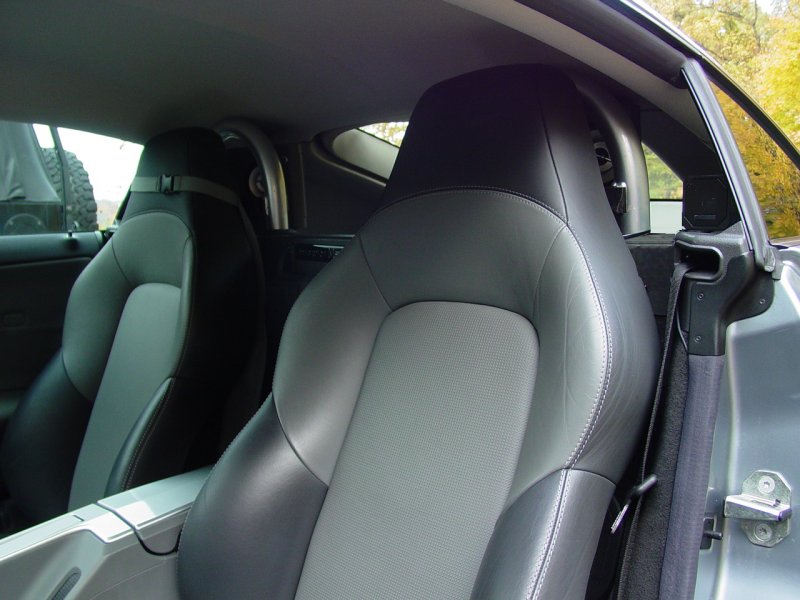
I found that if I mount the speakers
with the triangular side facing forward and the flat side facing back,
it fits very well and looks pretty good (it's nearly invisible from the
back). The bonus is that I have two surfaces facing forward at
45-degree angles, which puts the surfaces facing to either side of each
seat.
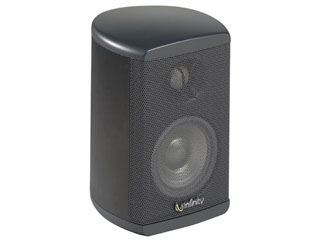
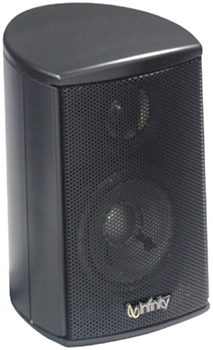
Driver Selection

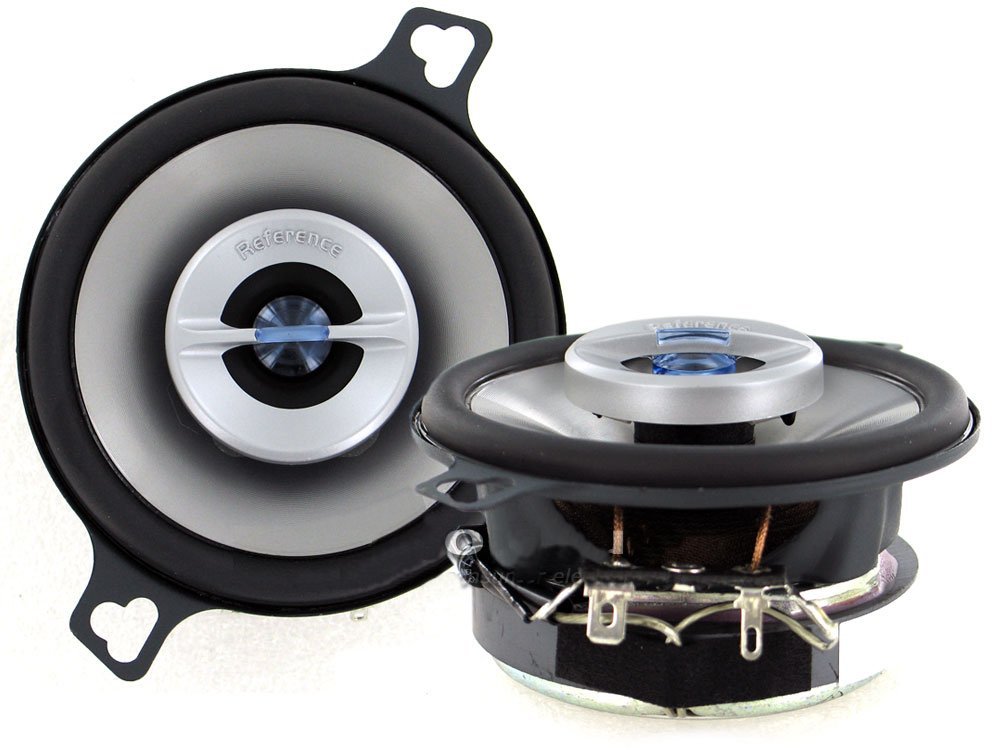
This
gives me four 3-inch speakers and four 1.5" tweeters, facing front with
good clearance around the seats. So I ordered four Infinity 3022cf
two-way compact speakers. I got two from Amazon, one of my
favorite sources, and the other two from an eBay seller who was selling
a set of new speakers in a "damaged box". When the eBay speakers came I
found that the box damage was confined to a spot where it looks like the
carton got spoiled by removing some tape. The speakers inside were
brand new in sealed packages.
Brochure |
Owners Manual
I measured and found I could fit two
speakers in the enclosure, one on each flat of the triangular side. Here is a drawing that I
used to determine that I would not be able to mount the drivers flush
with the surface of the face of the enclosures - not enough room for the
magnets to clear each other inside.
I wondered if I want to put a
left and right channel into each cabinet or run lefts on the left side
of the car and rights on the right side of the car...? If I put a left
and a right on each side, I might get an interesting stereo effect on
either side of the passenger or driver's heads. Not really sure though
it would probably be easy enough to try both ways. Alternatively I guess
I could put in a switch that would let me change it on the fly...
I ended up sticking with putting both drivers in the cabinet on the same
channel, so one "left" enclosure and one "right" enclosure.
Installation of Drivers
into Enclosures
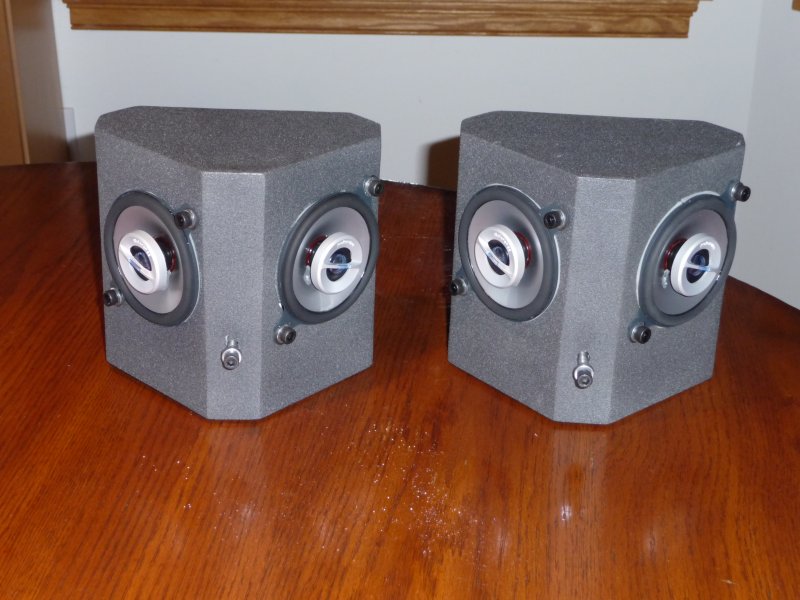
Here are the drivers
installed and the cabinets painted. I chose a finish that
approximates the interior of the car, with a rough, two-color stipple.
I elected to use pan-head hex bolts to get a slightly industrial look.
All the bolts have washers and in the case of the studs for mounting to
the bracket, rubber washers to isolate vibration.


I let the enclosures dry
overnight and then test fit the drivers and hardware. I found that
the bolts I had selected to hold the drivers into the enclosure would
not work on a couple spots because of limitations inside the enclosure.
So I made adjustments. I threaded and countersunk the thread holes
that hold the backs on so they'd be nice and tight and easy to open for
service. I elected to install the 100ųf capacitor for an
effective cut-0ff frequency of about 300hz. This prevents the
speakers from transmitting frequencies handled by the subwoofers,
effectively making them mid-ranges. The coaxial mounted tweeters
have their own crossover integrated into the driver assembly and did not
require any special consideration. I wired each enclosure in
parallel, terminating the leads with a single positive and ground for
each enclosure, simplifying the connection to the rest of the system.
I drilled a single hole in the narrow space between the two angled
panels and fitted a T-Nut on the inside to accept the bolt that holds
the assembly to the roll bar bracket.
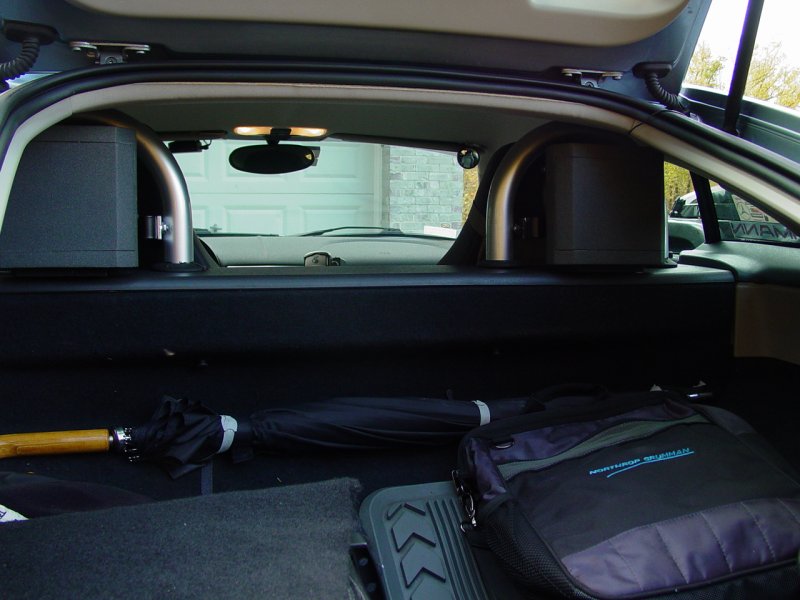
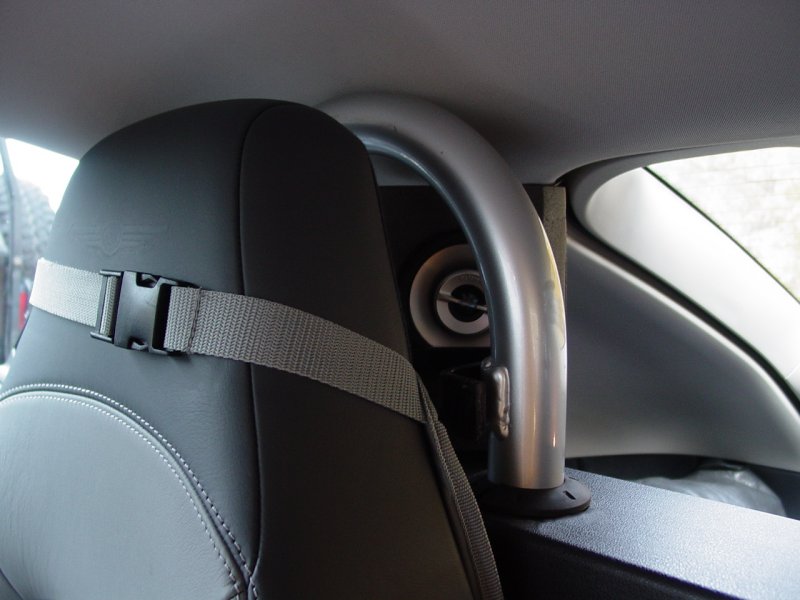
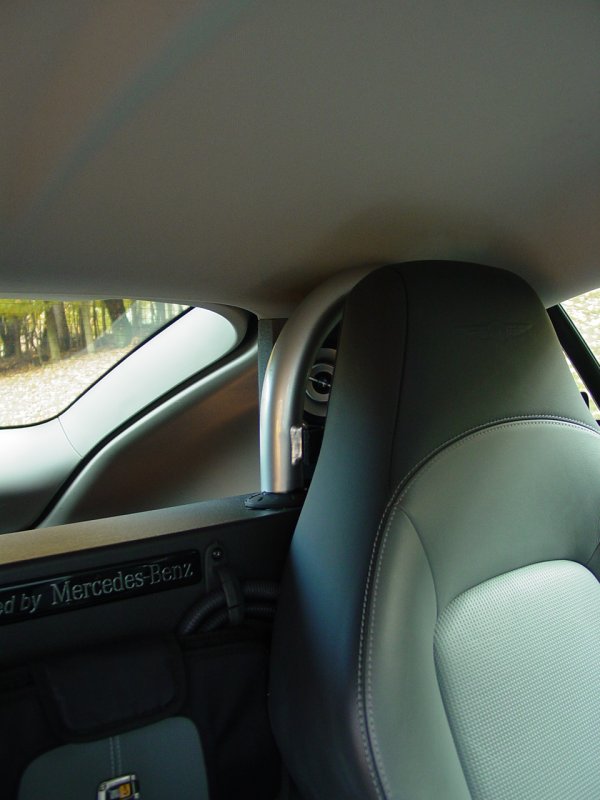
Installation of
finished Speakers into Car
I put some rubber padding
material on the underside of the enclosures to reduce the transmission
of vibration and to cushion the enclosures where they will rest on the
bulkhead. Then I bolted the speaker assemblies into the car after
drilling a single hole in each roll bar bracket, using this hole and the
stud on the speakers to complete mounting. The bolt merely keeps
the enclosure in position, with the weight of the enclosure resting on
the bulkhead.


Here is a logical view of
the stereo system