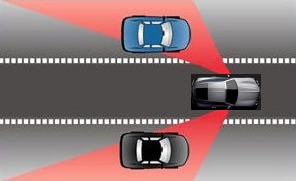
The Problem
Try as I might
to adopt a driving style that eliminated blind spots, I was
unable to be certain I was getting the whole picture by looking
in the rear-view and side mirrors. I always look out the
windows and across my shoulders to see what's there before
making any moves, but even this was not leaving me with a high
level of confidence.
A few years
ago, when the kids were in rear-facing car seats I had purchased
and used inside rear-facing mirrors to see what was going on
with them, and discovered that by sticking one of these mirrors
on my windshield, I
cured my blind spot in the Jeep.
Using this
approach, the side-mirrors remained uncluttered by the stick on
mirrors that help but also reduce useful side-mirror surface.
Investigating this for the Crossfire, I found that the
windshield is too slanted and recessed far forward of the side
windows, preventing a clear view using a mirror of this type.
I needed something that was further back from the windshield and
high.
I concluded
that a mirror that would clip to the visor would work if I could
get it set at the right angle. I was not concerned that
the mirror would be out of commission if I flipped the visor
down because doing so makes it just about impossible to see out
the windshield anyway and I have not used my visors.
Available Solutions
I spent a fair
amount of time searching the web and stores but didn't find any
good ready-made solutions, so decided to come up with something
on my own.
Plan B
Checking
available materials I came up with a cheap solution that was
easy to assemble in less than five minutes. Here's what's
needed:
|
Quantity |
Item |
Part # |
Dimensions |
|
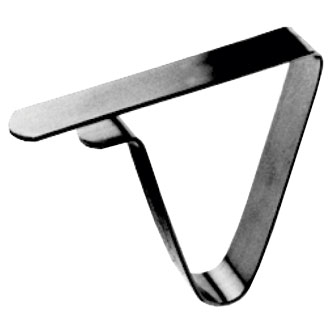
| 2 |
Tablecloth Clips |
|
(1/2" x 2 1/2") |
|
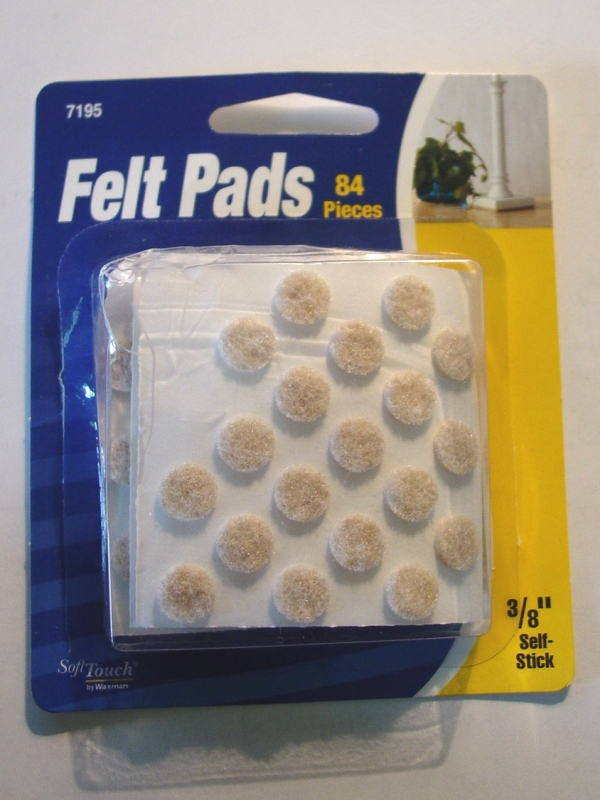
| 2 |
Felt Pads |
7195 |
(3/8" diameter) |
|
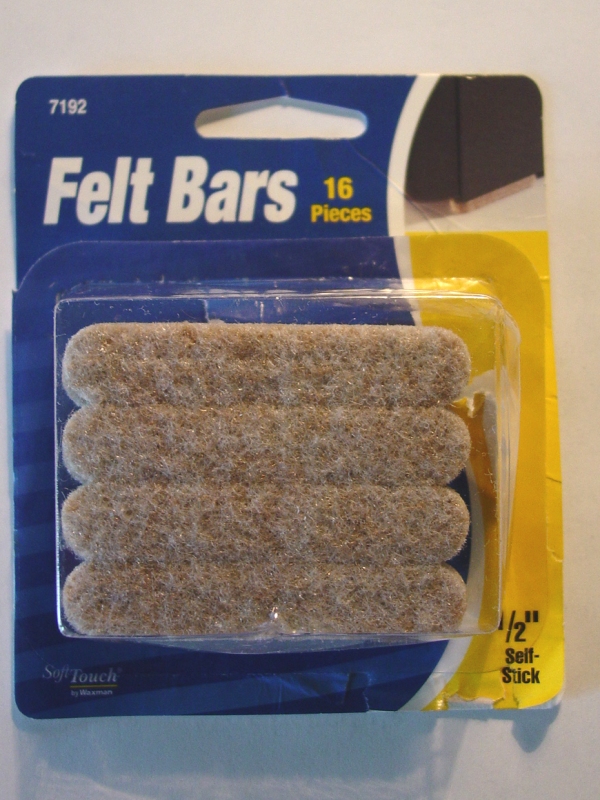
| 2 |
Felt Bars |
7192 |
(1/2" x 2 1/2") |
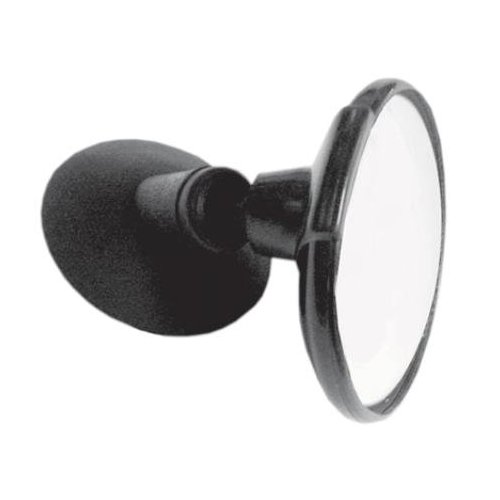
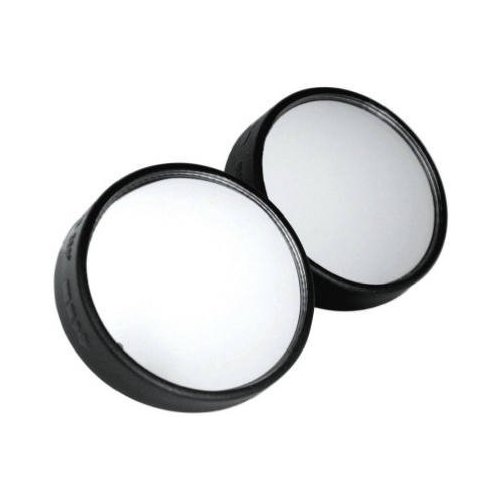
| 2 |
Adjustable Spot Mirrors |
|
2 inch |
|
The metal table
cloth clip provides a way to attach the mirror to the visor, and
a perpendicular surface to stick the mirror.
The felt strip
provides protection to the visor from the metal of the clip.
I used it because I wanted to be sure that the visor is not
damaged from long-term contact with the table cloth clip.
I used another felt pad on the other side of the clip for the
same reason - to distribute the pressure of the clip and prevent
damage to the visor.
I chose the 2'
spot mirror because it has a slight angle built in and can be
rotated to alter the angle. This gives some adjustability
so I can get just the right angle for covering the blind spot.
Assembly (Are you
smarter than a Fifth-grader?)
I placed one of
the felt bars onto the long inside bar of the table cloth clip,
and one of the felt pads on the small tip. I stuck the
mirror onto the vertical part of the clip, being careful to
center it and place it to hide the mounting surface.
Voila!
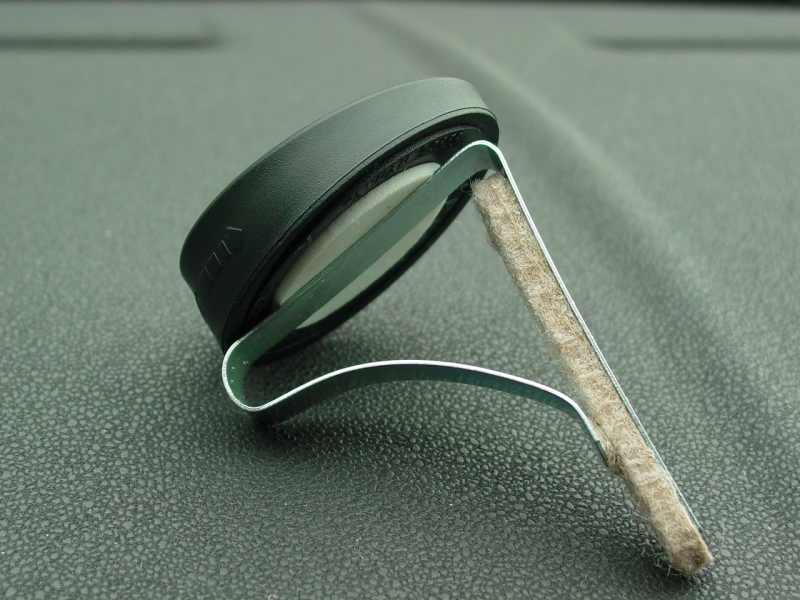
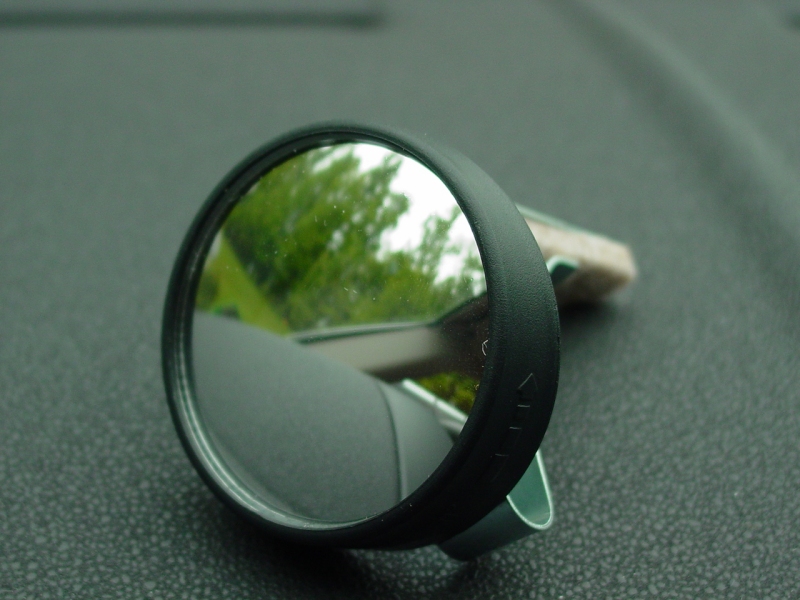
The one in the
picture above could probably be moved a 1/16th inch lower on the
clip to better hide the clip.
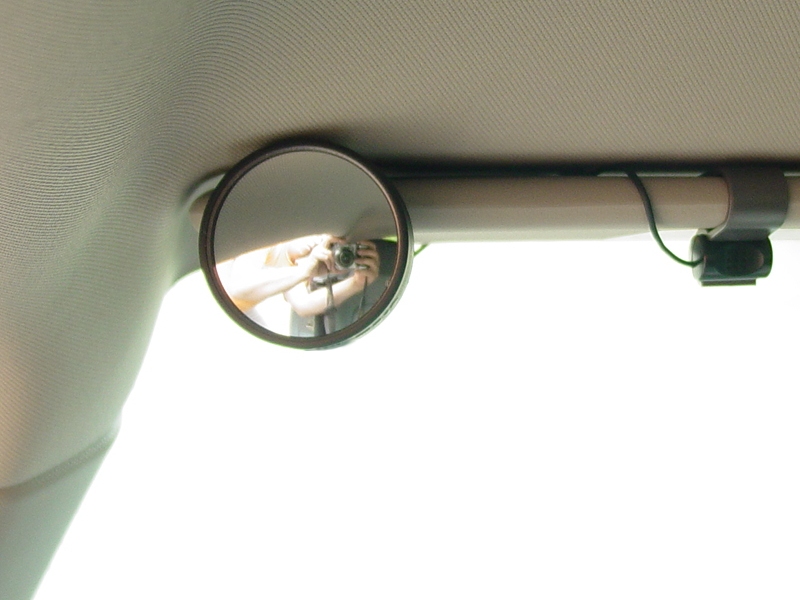
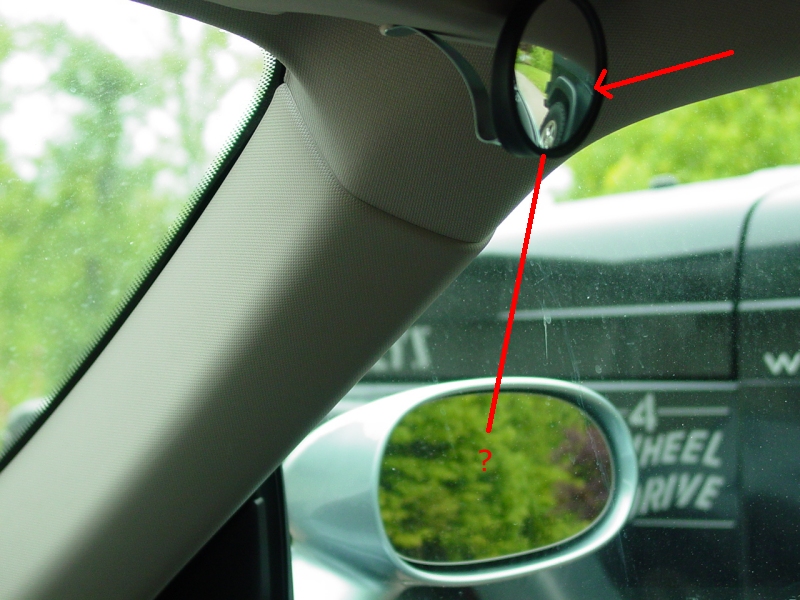
Installation (If you
have to read this...)
Installation
should not require any instruction... Put one mirror on
each visor and adjust the mirror by rotating the mirror and by
moving the angle at which the clip sits on the visor. (The
other item is the microphone for the hands-free phone)
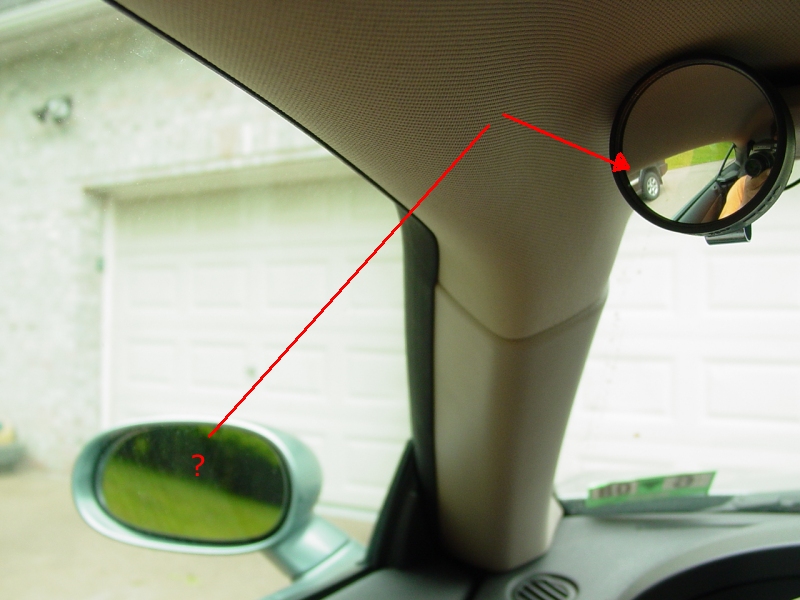
Practical Application
It is important
to note that these are very small mirrors (2 inches in diameter)
and give a slice of a view outside the window. They do
provide the missing picture between what is visible in the rear
view and side mirrors BUT it is very small. Once
accustomed to the difference between something in the blind spot
and nothing in the blind spot, it is easy to confirm what's
going on there. But don't expect to see lots of detail!
Most of the time it is the movement and change of pattern that
catches your eye.
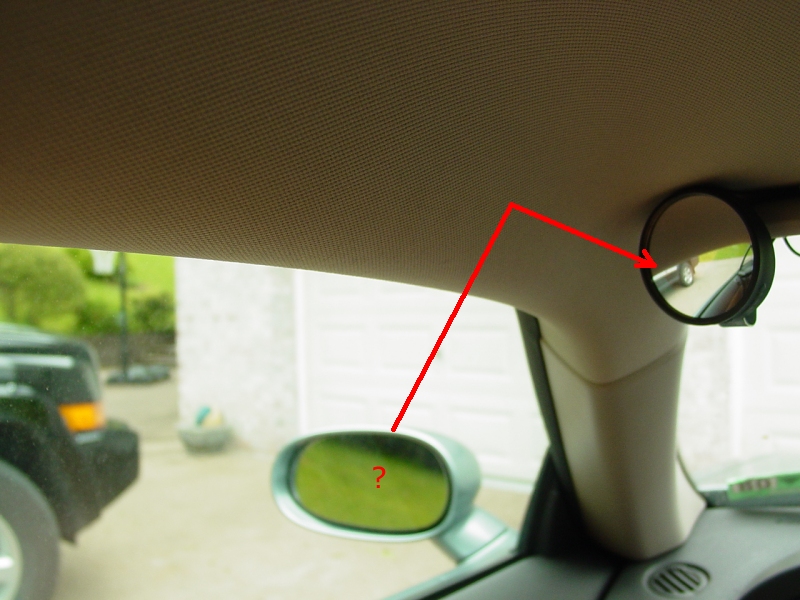
In the images
below, you can see the corner of a wheel and part of the vehicle
next to my Crossfire. In some cases, it's obvious from the
side view out the window that a vehicle is there anyway, but
these pictures give some idea of what you will see. All pictures
taken from the driver's seat at eye level.
Parting Words
It's a cheap
item to put together. It can be removed and put away when
you're concerned about "purity" and installed when you're
driving. Spend a few minutes getting side-view mirrors
properly aligned to show the field from the very edge of your
car (car not showing in mirror), your rear-view mirror capturing
the rear window, and then adjust the blind spot mirrors to
capture the field absent from these other mirrors. Parked,
study how the fields overlap and develop an understanding of
what each mirror field shows.
Now you can see
out that little side rear window!
